Attention
The DEEP platform is sunsetting.
The DEEP-Hybrid-DataCloud project project has ended and its plaftform and software are being decomissioned during 2023, as they have been superseeded by the AI4EOSC platform and the AI4OS software stack.
Please refer to the following links for further information:
Train a model locally
Useful video demos
This is a step by step guide on how to train a module from the Marketplace with your own dataset, on your local machine.
In this tutorial we will see how to retrain a generic image classifier on a custom dataset to create a phytoplankton classifier. If you want to follow along, you can download the toy phytoplankton dataset here.
If you are new to Machine Learning, you might want to check some useful Machine Learning resources we compiled to help you getting started.
Requirements
having Docker installed. For an up-to-date installation please follow the official Docker installation guide. As you will likely be using GPUs for training, you also have to install the nvidia-container-toolkit to make them visible from inside the container.
1. Choose a module from the Marketplace
The first step is to choose a model from the DEEP Open Catalog marketplace. Make sure to select a module with the trainable tag.
For educational purposes we are going to use a general model to identify images. This will allow us to see the general workflow.
Once we have chosen the model at the DEEP Open Catalog marketplace we will
find that it has an associated docker container in DockerHub. For example, in the
example we are running here, the container would be deephdc/deep-oc-image-classification-tf. So let’s pull the
docker image from DockerHub:
$ docker pull deephdc/deep-oc-image-classification-tf
Docker images have usually tags depending on whether they are using master or test and whether they use
cpu or gpu. Tags are usually:
latestorcpu: master + cpugpu: master + gpucpu-test: test + cpugpu-test: test + gpu
You tipically want to run your training on master with a gpu:
$ docker pull deephdc/deep-oc-image-classification-tf:gpu
Tip
Instead of pulling from Dockerhub, it’s also possible to build the image yourself:
$ git clone https://github.com/deephdc/deep-oc-image-classification-tf
$ cd deep-oc-image-classification-tf
$ docker build -t deephdc/deep-oc-image-classification-tf .
2. Prepare your dataset
For this tutorial, we will assume that you also have your data stored locally. If you have your data in a remote storage, check the rclone docs to see of you can copy them to your local machine.
When training a model, the data has usually to be in a specific format and folder structure. It’s usually helpful to read the README in the source code of the module (in this case located here) to learn the correct way to setting it up.
In the case of the image classification module, we will create the following folders:
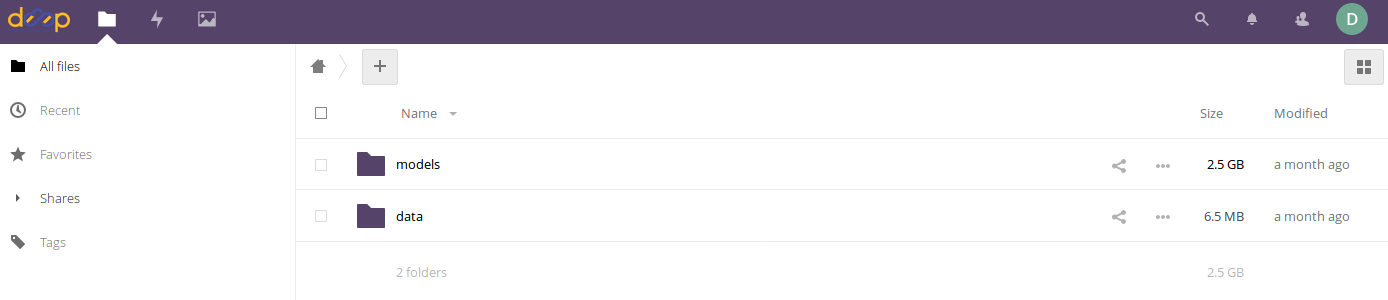
A folder called
modelswhere the new training weights will be stored after the training is completedA folder called
datathat contains two different folders:The sub folder
imagescontaining the input images needed for the trainingThe sub folder
dataset_filescontaining a couple of files:train.txtindicating the relative path to the training imagesclasses.txtindicating which are the categories for the training
Again, the folder structure and their content will of course depend on the module to be used. This structure is just an example in order to complete the workflow for this tutorial.
3. Run your module
When running the Docker container, you have to make sure that the data folder is
accessible from inside the container. This is done via the Docker volume -v flag:
$ docker run -ti -p 5000:5000 -p 6006:6006 -p 8888:8888 -v path_to_local_folder:path_to_docker_folder deephdc/deep-oc-image-classification-tf
We also need to make GPUs visible from inside the container using the --runtime=nvidia
(or the --gpus all flag).
In our case, the final command, mounting the data folder and the model weights folder (where we will later retrieve the newly trained model), looks as following:
$ docker run -ti -p 5000:5000 -p 6006:6006 -p 8888:8888 -v /home/ubuntu/data:/srv/image-classification-tf/data -v /home/ubuntu/models:/srv/image-classification-tf/models --runtime=nvidia deephdc/deep-oc-image-classification-tf:gpu
4. Open the DEEPaaS API and train the model
Go to http://0.0.0.0:5000/ui and look for the train POST method.
Modify the training parameters you wish to change and execute.
If some kind of monitorization tool is available for this model you will be able to follow the training progress from http://0.0.0.0:6006.
5. Test and export the newly trained model
Once the training has finished, you can directly test it by clicking on the predict POST method.
For this you have to kill the process running deepaas, and launch it again.
$ kill -9 $(ps aux | grep '[d]eepaas-run' | awk '{print $2}')
$ kill -9 $(ps aux | grep '[t]ensorboard' | awk '{print $2}')  # optionally also kill monitoring process
This is because the user inputs for deepaas are generated at the deepaas launching.
Thus it is not aware of the newly trained model. Once deepaas is restarted, head to the
predict POST method, select you new model weights and upload the image your want to classify.
If you are satisfied with your model, then it’s time to save it into your remote storage,
so that you still have access to it if your machine is deleted.
For this we have to create a tar file with the model folder (in this case, the foldername is
the timestamp at which the training was launched) so that we can download in our Docker container.
For the next step, you need to make them publicly available
through an URL so they can be downloaded in your Docker container.
In Nextcloud, go to the tar file you just created:
➜ Share Link ➜ (Create a new share link)
6. Next steps
The next steps are common with the remote training tutorial.